Bread is a staple in many diets, but traditional options aren’t suitable for everyone. For those with celiac disease or gluten intolerance, eating regular bread can lead to serious health issues. Thankfully, gluten-free bread offers a safe and delicious alternative.
Making gluten-free bread recipe at home gives you full control over the ingredients. You can enjoy fresh, healthy bread without unnecessary additives. Plus, homemade bread often tastes better than store-bought options.
In this article, you’ll learn how to bake your own gluten-free bread. We’ll explain the basics of gluten-free baking, share an easy recipe, and provide tips to get great results every time. Whether you’re gluten-sensitive or looking for healthier choices, this guide will help you succeed in making the perfect loaf.
Understanding Gluten-Free Baking
Baking without gluten is both an art and a science. Gluten, a protein found in wheat, rye, and barley, is what gives traditional bread its elasticity and chewy texture. Removing it from recipes requires creative solutions to achieve similar results.

What Is Gluten?
Gluten is a natural protein that acts like glue in baking. It helps trap air bubbles during the fermentation process, which gives bread its structure and rise. In gluten-free baking, finding alternatives to replicate this elasticity is essential.
Common Substitutes for Gluten
When baking gluten-free, several substitutes can mimic gluten’s role. Some popular options include:
- Xanthan Gum: A common thickening agent that adds elasticity and structure.
- Guar Gum: Similar to xanthan gum, it works well in gluten-free recipes but is plant-based.
- Psyllium Husk: Adds fiber and helps bind ingredients, creating a bread-like texture.
These ingredients are combined with gluten-free flours to create doughs that rise and hold their shape during baking.
Challenges of Gluten-Free Baking
Baking without gluten comes with unique challenges. Doughs can be sticky, and they often lack the structure of traditional bread. Some common issues include:
- Dense Texture: Without gluten, bread can become heavy or crumbly.
- Poor Rise: Gluten-free doughs don’t rise as easily as wheat-based doughs.
- Dryness: Gluten-free breads tend to dry out faster and require proper storage.
The Science of Gluten-Free Baking
To overcome these challenges, it’s important to understand the science behind the ingredients. For example, combining different gluten-free flours, such as rice flour, almond flour, and tapioca flour, creates a more balanced texture and flavor. Adding moisture-rich ingredients like eggs or yogurt also improves the final product.
Transitioning to gluten-free baking requires practice, but with the right techniques and tools, you can achieve excellent results.
Key Ingredients for Gluten-Free Bread Recipe
The success of gluten-free bread depends on the right combination of ingredients. Each plays a vital role in mimicking the texture, structure, and flavor of traditional bread. Let’s explore the essential components for baking a perfect gluten-free loaf.

Gluten-Free Flours
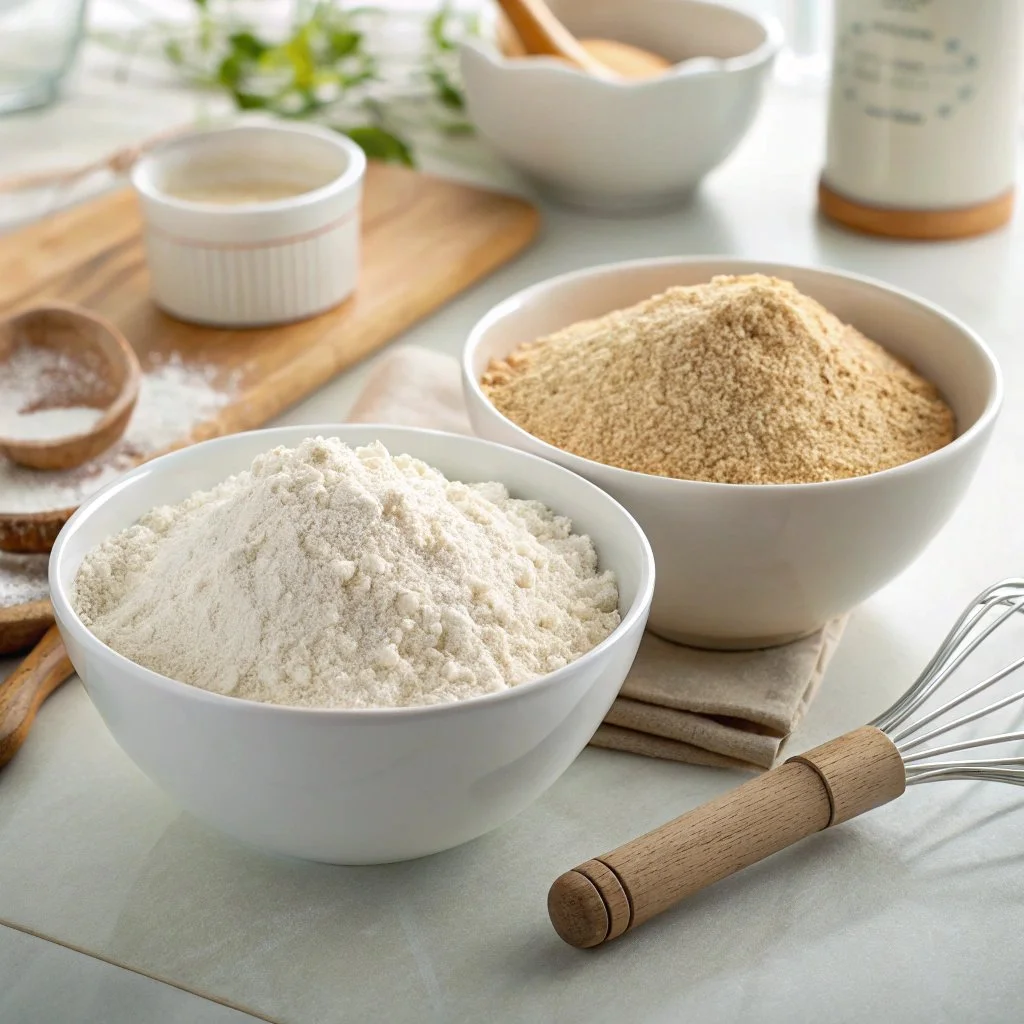
Gluten-free flours are the foundation of any recipe. Using a mix of flours helps create a balanced texture. Here are some of the most popular options:
- Rice Flour: Light and neutral in flavor, it’s great for soft textures.
- Almond Flour: Adds a nutty taste and moisture, making bread rich and tender.
- Tapioca Flour: Provides stretchiness and helps mimic gluten’s elasticity.
- Sorghum Flour: Offers a mild flavor and protein, making bread less crumbly.
Combining these flours ensures the bread isn’t too dense or dry.
Binders and Additives
Since gluten is absent, binders are necessary to hold the dough together. These ingredients make a big difference:
- Xanthan Gum: A common stabilizer that prevents crumbling and adds stretch.
- Psyllium Husk: Boosts structure and helps the dough trap air for a better rise.
- Eggs: Provide moisture and act as a natural binder. For a vegan option, flaxseed meal mixed with water works well.
Moisture Enhancers
Keeping gluten-free bread moist is crucial. Ingredients like the following ensure the loaf stays soft:
- Yogurt or Buttermilk: Adds creaminess and tangy flavor.
- Oil: Prevents dryness and gives the bread a soft crumb. Coconut oil or olive oil are excellent options.
- Applesauce or Mashed Potatoes: These add natural sweetness and moisture without altering the flavor significantly.
Leavening Agents
Rising agents are just as important in gluten-free baking as they are in regular bread. These include:
- Yeast: Creates air pockets and adds a classic bread flavor.
- Baking Powder: Helps with lift and lightens the texture.
- Baking Soda and Vinegar: When combined, they add extra leavening power.
Sweeteners and Salt
A small amount of sugar helps activate the yeast, while salt enhances flavor. You can use honey, maple syrup, or regular sugar, depending on your preferences. These ingredients may seem minor, but they significantly impact the taste of your bread.
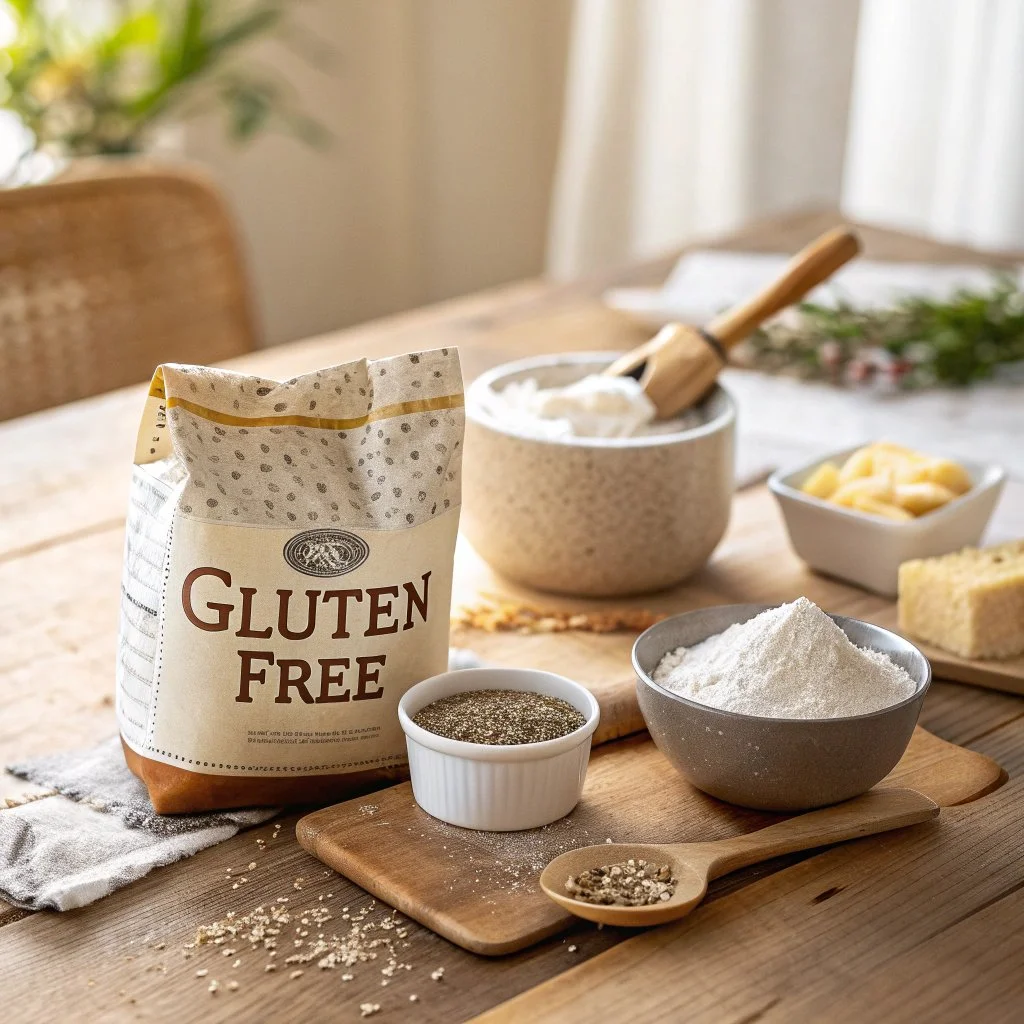
Pre-Made Gluten-Free Flour Blends
If you’re short on time or new to gluten-free baking, pre-made flour blends can simplify the process. Many blends already contain xanthan gum or other binders, making them convenient and reliable. Always check the label to ensure the blend suits your needs.
With these ingredients in your pantry, you’ll be ready to tackle any gluten-free bread recipe with confidence.
Essential Tools for Baking Gluten-Free Bread Recipe
Baking gluten-free bread at home becomes easier and more efficient with the right tools. These tools not only simplify the process but also help ensure consistent and professional results.
Bread Machines
A bread machine can be a game-changer for gluten-free baking. Many models come with a specific gluten-free setting that adjusts kneading and baking times for the unique texture of gluten-free dough. Key benefits include:
- Even mixing of sticky dough.
- Precise temperature control for better rising.
- Hands-free operation, making baking more convenient.
When selecting a bread machine, look for one with a non-stick pan and adjustable settings to cater to different recipes.
Stand Mixers
Mixing gluten-free dough can be challenging due to its stickiness. A stand mixer with a paddle attachment makes it easier to achieve a smooth consistency. It also saves time and effort during the preparation stage. Stand mixers are particularly useful for:
- Blending multiple flours evenly.
- Incorporating binders like xanthan gum.
- Mixing sticky dough without overworking it.
Loaf Pans
Loaf pans are essential for shaping and baking bread. Gluten-free doughs often spread more than regular dough, so using a pan provides structure. Recommended pans include:
- Metal Loaf Pans: Great for even heat distribution.
- Silicone Pans: Non-stick and easy to clean, ideal for beginners.
- Pullman Loaf Pans: Create perfect sandwich bread with straight sides.
Lightly greasing the pan or using parchment paper ensures easy removal of the bread after baking.
Kitchen Scale
Accurate measurements are crucial in gluten-free baking. A kitchen scale helps ensure the right ratio of flours and liquids, leading to better results. For example, weighing flours prevents adding too much or too little, which can affect texture.
Thermometer
Bread baking is all about precision, and a kitchen thermometer ensures the internal temperature of the loaf is perfect. For gluten-free bread, aim for an internal temperature of around 200–210°F (93–99°C) to ensure it’s fully cooked without being dry.
Miscellaneous Tools
Other helpful tools for gluten-free bread baking include:
- Rubber Spatulas: For scraping sticky dough from bowls and mixers.
- Wire Racks: Allow bread to cool properly, preventing soggy bottoms.
- Whisks or Sifters: Ensure flours are aerated and lump-free before mixing.
- Pastry Brush: Useful for applying egg wash or oil to the dough surface for a golden crust.
Storage Containers
Fresh gluten-free bread can dry out quickly. Airtight containers or bread bags keep loaves fresh for longer. Freezing is also a great option for extending shelf life—just slice the bread before freezing for easier use.
With these tools, baking gluten-free bread becomes less intimidating and more enjoyable. They help streamline the process and make it easier to replicate success with every loaf.
Step-by-Step Gluten-Free Bread Recipe
Now that you understand the ingredients and tools, it’s time to bake a simple and delicious gluten-free bread. This recipe is perfect for beginners and can be customized with your favorite flavors and additions.

Ingredients
Dry Ingredients:
- 2 ½ cups gluten-free all-purpose flour (with xanthan gum included).
- 1 teaspoon salt.
- 1 tablespoon sugar or honey.
- 2 teaspoons instant yeast.
Wet Ingredients:
- 1 ¼ cups warm water (around 110°F/43°C).
- 2 tablespoons olive oil or melted butter.
- 2 large eggs (or flaxseed substitute for vegan).
Optional Additions:
- 1 teaspoon apple cider vinegar (improves texture).
- Seeds (e.g., sunflower, chia) for crunch.
Instructions
- Prepare the Wet Mixture
In a medium bowl, combine warm water, olive oil, and eggs. Whisk until well mixed. If using honey, stir it into this mixture. - Mix the Dry Ingredients
In a large mixing bowl, combine gluten-free flour, salt, sugar, and yeast. Stir to blend the dry ingredients evenly. - Combine Wet and Dry Ingredients
Gradually pour the wet mixture into the bowl with the dry ingredients. Mix with a spatula or a stand mixer on medium speed until the dough is smooth. The dough will be sticky—that’s normal for gluten-free bread. - Add Apple Cider Vinegar (Optional)
If using apple cider vinegar, mix it in now. This step helps improve the elasticity and rise of the dough. - Let the Dough Rise
Transfer the dough to a greased loaf pan. Smooth the surface with a spatula or your hands (wet them lightly to prevent sticking). Cover the pan with a clean kitchen towel and let the dough rise in a warm spot for 30–40 minutes, or until it doubles in size. - Preheat the Oven
While the dough rises, preheat your oven to 375°F (190°C). Place a small pan of water on the lower rack to create steam, which helps keep the bread moist. - Bake the Bread
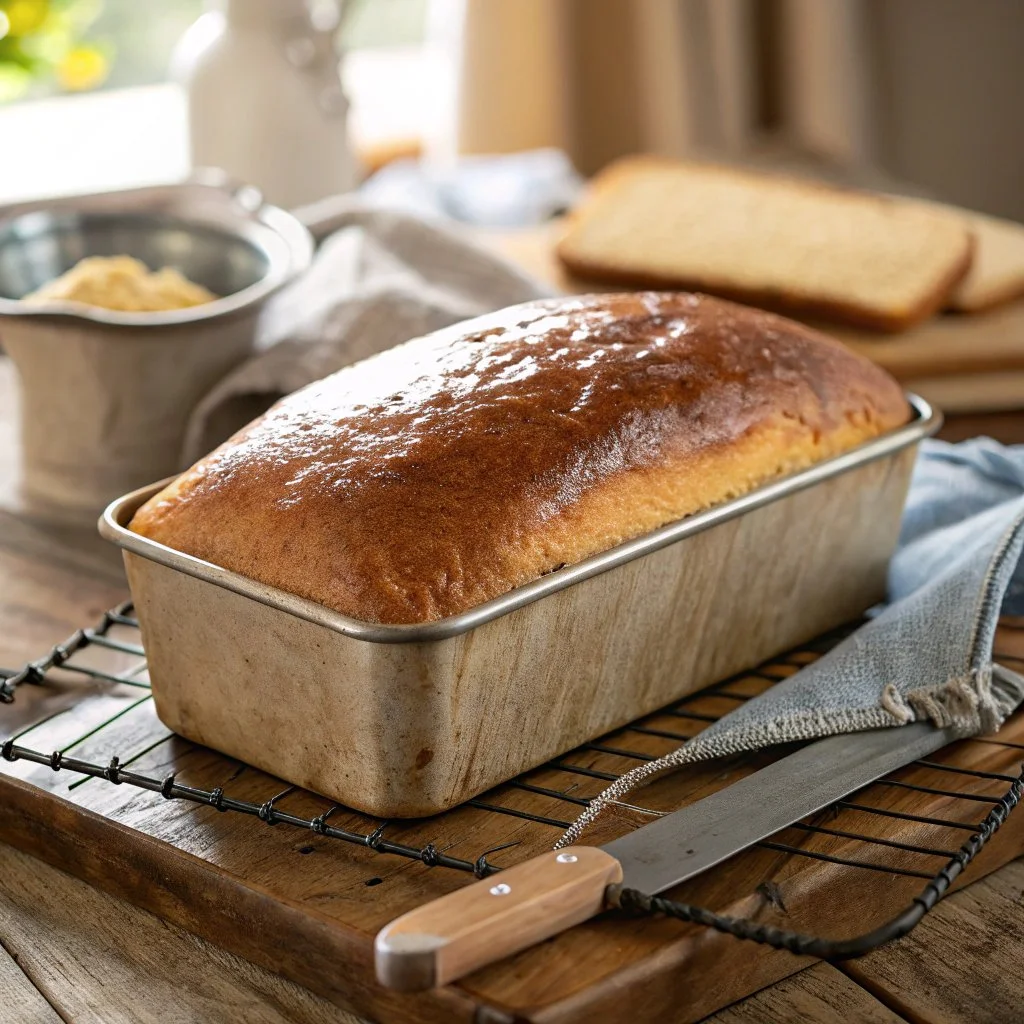
Once the dough has risen, place the loaf pan in the oven. Bake for 40–45 minutes, or until the top is golden brown. To ensure doneness, use a thermometer to check the internal temperature—it should read 200–210°F (93–99°C). - Cool the Bread
Remove the bread from the oven and let it cool in the pan for 10 minutes. Then transfer it to a wire rack to cool completely. This step is crucial to avoid sogginess.
Variations
- Herbed Bread: Add 1 teaspoon of dried herbs like rosemary or thyme to the dry ingredients.
- Sweet Bread: Mix in ¼ cup raisins or chocolate chips for a dessert-style loaf.
- Seeded Bread: Sprinkle sesame, flax, or chia seeds on top before baking for extra texture.
Pro Tips
- Always measure your ingredients accurately. Gluten-free baking relies on precision.
- Don’t skip the rising step, as it ensures a light and fluffy texture.
- Use fresh yeast for the best results. If your yeast doesn’t foam when mixed with warm water, it might be expired.
This recipe is a great base to experiment with and make your own. It’s perfect for sandwiches, toast, or snacking on its own.
Tips for Perfect Gluten-Free Bread Every Time
Baking gluten-free bread can be tricky, but with a little practice and the right tips, you can consistently create delicious loaves. Here are expert tips to help you avoid common pitfalls and bake bread that’s fluffy, flavorful, and perfectly textured.
Avoiding Dense and Heavy Loaves
One of the most common issues with gluten-free bread is a dense texture. To fix this:
- Use a Blend of Flours: Relying on a single gluten-free flour can make the bread too heavy. Combine light flours like rice flour with starches like tapioca for balance.
- Incorporate Binders: Ingredients like xanthan gum or psyllium husk are essential for structure. Without them, the bread will crumble.
- Don’t Overmix: Gluten-free dough doesn’t benefit from extended mixing like wheat dough. Mix until ingredients are just combined.
Improving Bread Rise
Gluten-free bread often struggles to rise properly. Boost the rise with these strategies:
- Warm Environment: Let the dough rise in a warm place, around 75–80°F (24–27°C). If your kitchen is cool, preheat the oven to 200°F (93°C), turn it off, and place the dough inside.
- Hydration is Key: Gluten-free doughs are wetter than traditional ones, which helps with rise and texture. Don’t add too much flour if the dough feels sticky.
- Use Fresh Yeast: Yeast loses its potency over time. Always check the expiration date and test the yeast with warm water and sugar to ensure it’s active.
Preventing Dryness
Dryness is another challenge in gluten-free baking. To keep your bread moist:
- Add Moisture-Rich Ingredients: Ingredients like eggs, yogurt, or applesauce help retain moisture.
- Bake with Steam: Place a pan of water in the oven during baking to keep the environment humid. This prevents the bread from drying out.
- Store Properly: Store the bread in an airtight container at room temperature for up to 3 days. For longer storage, slice and freeze the bread.
Enhancing Flavor
Gluten-free bread can taste bland if not properly seasoned. To boost flavor:
- Add Sweeteners or Herbs: Use natural sweeteners like honey or maple syrup, or add dried herbs for a savory loaf.
- Use High-Quality Flours: Whole grain gluten-free flours like sorghum or teff have a richer, nuttier flavor compared to white rice flour.
- Toast Seeds or Nuts: Adding toasted seeds or nuts can enhance the flavor and texture of the bread.
Troubleshooting Common Problems
- Crumbly Texture: Add more binder, like xanthan gum or psyllium husk. Using an extra egg can also improve binding.
- Flat Loaf: Ensure the yeast is active and give the dough enough time to rise. Check the consistency of the dough—it should be slightly sticky but firm enough to hold its shape.
- Undercooked Center: Bake longer and use a thermometer to check the internal temperature (aim for 200–210°F or 93–99°C). Lowering the oven temperature slightly and baking for extra time can also help.
Experimenting with Recipes
Baking gluten-free bread is a learning process, and every oven and ingredient behaves differently. Don’t hesitate to:
- Try New Ingredients: Substitute or mix different flours to find the best flavor and texture for your bread.
- Adjust Liquids: Depending on the humidity in your kitchen, you might need to tweak the water or liquid content slightly.
- Practice Patience: Success comes with trial and error. Take notes on what works and keep experimenting until you perfect your recipe.
Why Practice Makes Perfect
Gluten-free baking requires a shift in mindset and techniques. Unlike traditional baking, the dough doesn’t behave the same way, but every attempt teaches you something new. Over time, you’ll develop the confidence to bake bread that rivals any bakery’s offerings
Frequently Asked Questions About Gluten-Free Bread
Why does my gluten-free bread turn out so dense?
Gluten-free bread can be dense if there isn’t enough air incorporated into the dough or if the balance of ingredients is off. Make sure to use a blend of gluten-free flours, include a binder like xanthan gum, and let the dough rise in a warm environment before baking.
Can I substitute gluten-free flour for regular flour in any bread recipe?
Not directly. Gluten-free flours behave differently and often require additional ingredients, like binders and more liquid, to achieve similar results. Using a recipe specifically designed for gluten-free bread will yield the best outcome.
How can I make my gluten-free bread recipe softer?
To make gluten-free bread softer, ensure the dough is properly hydrated by using moisture-rich ingredients like eggs or yogurt. Baking with steam and storing the bread in an airtight container after it cools can also help maintain softness.
What’s the best way to store gluten-free bread?
Store gluten-free bread in an airtight container at room temperature for up to three days. For longer storage, slice the loaf and freeze the slices in a sealed bag or container. When needed, thaw the slices at room temperature or toast them directly.
Can I bake gluten-free bread recipe without yeast?
Yes, you can bake gluten-free bread without yeast by using alternative leavening agents like baking powder or baking soda with vinegar. While the texture will differ slightly, this method works well for quick breads.
How do I stop my gluten-free bread from crumbling?
To prevent crumbling, make sure you’re using a binder like xanthan gum, guar gum, or psyllium husk. Also, avoid overbaking, as this can dry out the bread and lead to a crumbly texture.
These FAQs address common concerns and provide actionable solutions to help you improve your gluten-free bread-making skills.
Conclusion
Gluten-free bread recipe has come a long way from the dense, flavorless options of the past. With the right ingredients, tools, and techniques, you can create a loaf that’s soft, delicious, and satisfying. Whether you’re baking for health reasons or simply exploring new culinary possibilities, this guide gives you the confidence to succeed.
Homemade gluten-free bread offers endless customization opportunities, from experimenting with different flours to adding seeds, herbs, or even sweet flavors. It allows you to control the quality of ingredients and avoid unnecessary additives found in store-bought options.
Remember, gluten-free baking is a skill that improves with practice. Don’t be discouraged by initial challenges—every loaf you bake is a step toward mastering the craft. With patience and creativity, you’ll soon enjoy bread that tastes as good as it looks.
Happy baking!

